30 June 2010

Tote Upgrade

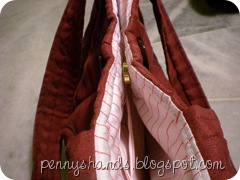
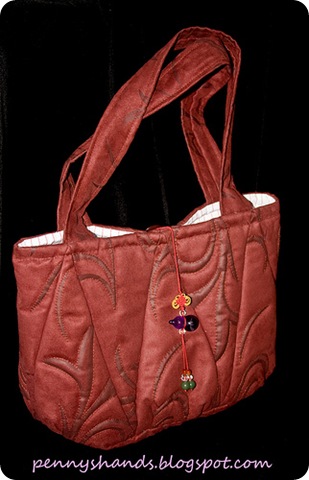
quilted triangles tote Remember this bag? As much as I love the hand quilted triangles….
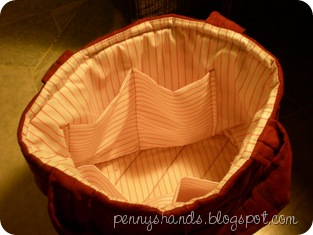

DSCN2241 ….I didn’t use much of this bag because it doesn’t have a closure. I thought I need to add a magnetic button but I didn’t want to open up the lining to ‘plant’ the button. So……
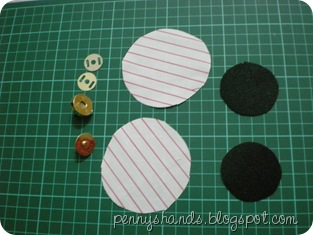
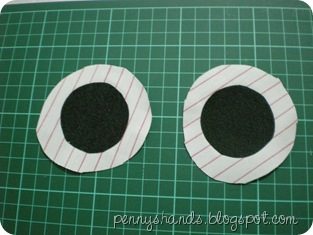
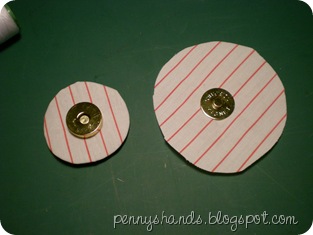
  DSCN2229  I gathered a set of magnetic button, two pieces of fabric and two pieces of stiff iron-on interfacing cut in circles…
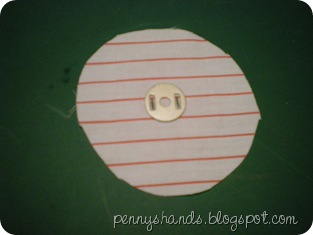
DSCN2231 …center the interfacing on the wrong side of the fabric and iron the interfacing in place.


DSCN2233
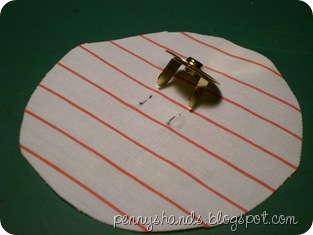
On the right side, center the washer and mark the slits.

DSCN2236
Using the seam ripper, cut the slits just long enough for the feet to go through.

DSCN2237
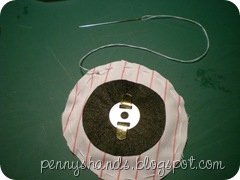
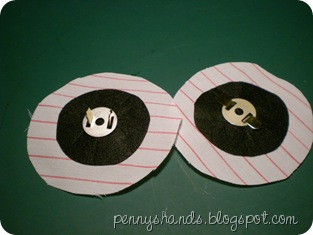
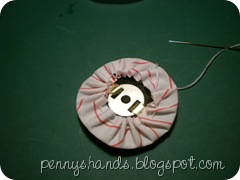
Push through the feet,place in the washer and press down the feet to secure.
DSCN2238
DSCN2239
Using running stitches, stitch close to the edge and pull the stitches tight .Just like making a yo-yo.Secure the stitches with a knot.
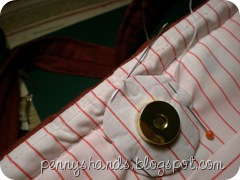
DSCN2240     The one on the left is done.


DSCN2242
DSCN2243
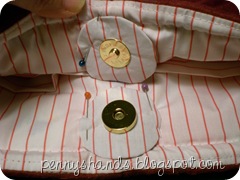
Position the buttons and ‘applique’ in place. I used small stitches. I’m going to be tugging those circles each time I open my bag !

DSCN2244
DSCN2246
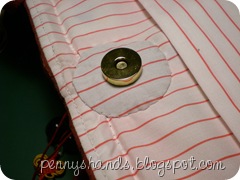
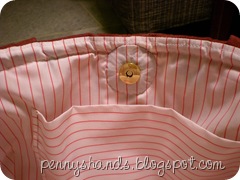
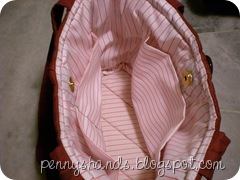
Done ! Good thing I kept those scraps. It’s almost ‘invisible”.

DSCN2245
DSCN2247
Now I can secure the content of my bag from preying eyes !


Update: Penny joined these parties


image
image

24 June 2010

What’s on My Plate?

I love to hand stitch. And I would like to try making Dresden Plates. So I spent yesterday afternoon looking for templates for making Dresden Plates…the English Paper Piecing style. Found many…which of course I’ll need to purchase. Then I found this tutorial. Thanks Kathy.


I modified Kathy’s method a little. This is how I did mine smile n wink
DSCN2207
 DSCN2208
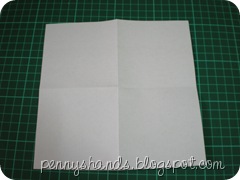
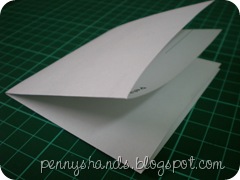
Start with a square piece of paper. Fold into four.
( Remember to recycle by using those paper from your office !)


DSCN2222DSCN2210
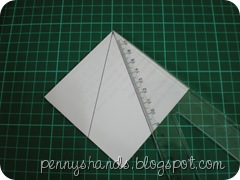
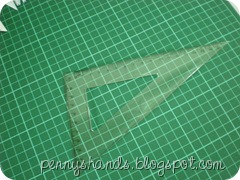
Then, draw two lines using this triangle ruler from your schoolbag ;D
[I realize that  one of the angles ( the smaller one,of course) is 30 degrees. ]
  DSCN2212

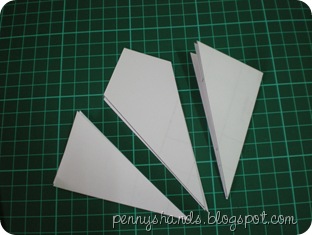
Cut through all those layers on the drawn line. You’ll get 3 x 4 = 12 wedges.


DSCN2213
DSCN2214
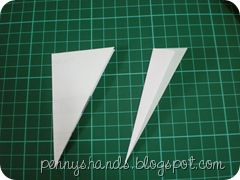
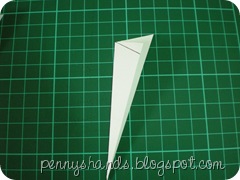
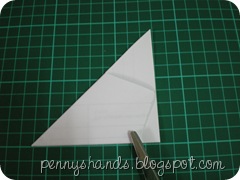
Now, take one wedge and fold into two. Draw a  line as shown in the right picture.Cut on the line.


DSCN2215
DSCN2216
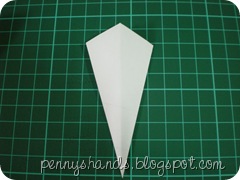
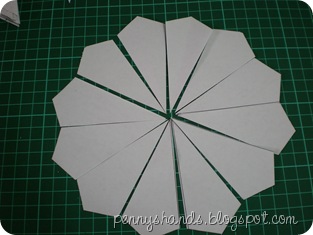
Open up and there you have your first wedge ! Stack up all those wedges and snip off the points using the first wedge as a guide.


DSCN2217
Twelve wedges made in a jiffy and it’s FREE  laughing hand closing mouth 


DSCN2228
DSCN2219 This was easier to make. No use of any ruler.


DSCN2220
DSCN2221
      
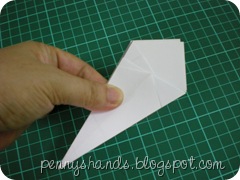
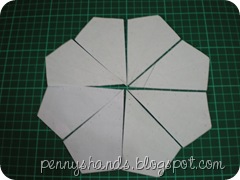
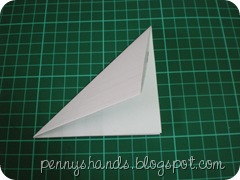
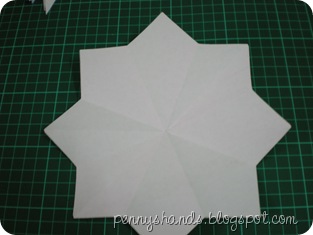
Fold the square piece of paper into four, then diagonally keeping those points sharp. Shape the wedges as desired.

   DSCN2226 Open and cut out the wedges on the creased line.


And yes….those paper templates are reusable.


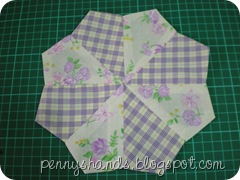
I think I’ll be making some placemats or coasters or hot pads using my plates …..hmmmmmthinking


I would love to see the dresden plates you make using this method. Do mail me your pictures !


If you are new to English Paper Piecing, click  here and here. 

18 June 2010

Jenny’s New Blog and a Giveaway

Did you know that Jenny of  Living, Crafting and Quilting  has a new blog?
Click yourself to From The Yellow House quick!


imageJenny is having a giveaway too!

16 June 2010

Tea Party No 12

image


It’s party time again. Of course I am talking about  Sachiko’s Tea Rose Home Link Party. It’s been running for the twelfth week now..and going stronger each week! There are heaps of  creative people out there!

This week I am sharing one of the bags I made for mum. Go check out my bag! It’s entry number nine! …and don’t forget to say ‘hi’ to everyone at the party!
                                           wink    See you there!

11 June 2010

Flowers Heart Redwork

image

Found this wonderful redwork at Alex Anderson Quilts.


image
It’s 12 blocks all together to form a wall hanging. It is perfect for a block of the month project, a different flower for each month.


It’s going to my To-Do-List ! smile w eyebrow


lines20